Showing posts with label maybelline. Show all posts

Saturday, 6 August 2011

rebonjour

Hello people, I am back!

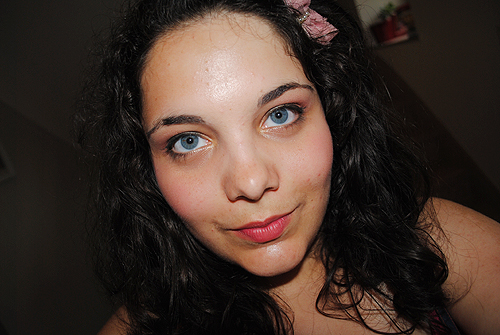
I now own my first ever DSLR, a Nikon D3000 (yes I know it's entry level, don't judge me, DSLR snobs!) and now have my first FOTD with pictures taken with it! (:


Ignore the T-Zone please, I am in desperate need of a foundation/ tinted moisturiser! Well, I need a new moisturiser anyway.


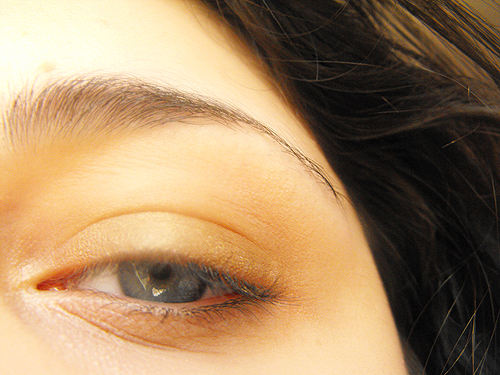
I have not mastered the art of taking close up pictures with a DSLR yet, if anyone has any pointers, they would be muchly appreciated!

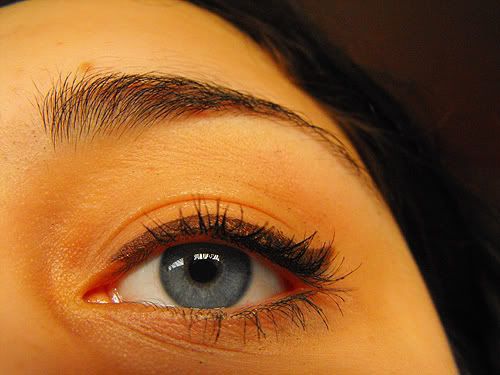
Anyway, this combination is becoming a frequent look of mine, I have recently discovered (actually when I went to watch Harry Potter and did Gryffindor themed eye makeup) that red goes very well with gold and since then, I've been doing it quite a lot.


So the products I used (aside from the eyeliner, which I forgot to photograph, whoops...) are Half Baked from the Naked palette, the red from Sleek's Sunset palette, Benefit's Boi-ing concealer, MAC's Paint Pot in Painterly, L'Oreal Blush (need to check the name), a Maybelline mascara and Benefit's Posie Tint and Benetint.

S'all for now, hope you guys liked it and remember, tips would be appreciated! :) xxx


Friday, 15 April 2011

My take on Cosmopolitan's 'everyday sexy' eyes

For those of you that read Cosmo (and that got this month's issue with Kim Kardashian - UK version, just to clarify), you've probably seen this in the magazine. 


I liked the look of this, so I decided to try it out. After trying it a couple of days ago, I thought I'd attempt to do a tutorial of sorts, but not really a tutorial, rather more like my way of doing this. First of all, I decided to do it with lighter browns and tweak a few things, but of course, you can just follow the steps in the magazine. I'll be adding what Cosmo wrote for each step in italics, because it can be a bit tricky to read that tiny writing!

Froncover Mermaid Dreams palette, Natural Collection eyeshadow in Milk Chocolate, Maybelline Colossal Volume mascara, Collection 2000 Big Fake mascara, Shu Uemura eyelash curler, Urban Decay 24/7 Liner in Bourbon

Naked eye
A quick note before I start, my photos seem a bit blurred at some points, which I didn't notice whilst taking these pictures. It's probably due to my camera lens possibly being a bit smudged, so sorry bout that! 

Step One:
"'Sexy = dewy, so avoid matt eyeshadow on the eyelid', says Kay. 'Press a silky brown eyeshadow all over the lid to just above the crease.' Using your fingers helps flatten the powder and make sit more reflective."

For this step, I used my Frontcover Mermaid Dreams palette. So baked eyeshadow isn't the same as silky, I felt like using this palette. To start with, I used Baked Bronze. 


Then I decided it was shimmery enough for me, so I used Sunray over it to give it a bit more oomph.


When I was trying to photograph it, it isn't very visible on my eyelid, but I followed the instructions from the magazine, so there isn't that much to miss.
Step Two:
"Using a small, fluffly brush, swirl a dark matt brown eyeshadow where your eye naturally creases. 'Don't take the colour too far inwards - it's all about trying to widen the eye', says Kay.
Again, I didn't really pay attention to the colour choice. I decided to go with a medium brown instead of dark, as dark colours can look really harsh against my colour. I used Natural Collection's Milk Chocolate £1,79, I believe, but you can get 3 for £5 on NC's stuff at Boots at the moment!

 
Step Three:
 "'Brown pencil has the same impact as black but is much more flattering.', says Kay. Run brown eyeliner all along the upper lashline. 'You can apply a little on the lower lashes too if you have almond-shaped eyes, but don't do this if your eyes are very round.' 
Add a few extra dots of pencil on the outer corners to give a thicker edge. 'Finish the line at the last lash, not beyond on the skin,' says Kay."
Another rather simple step, I used my Urban Decay eyeliner in Bourbon.


As with everything else, I toned this down a bit, as although they say it's everyday, I feel their version is a bit more suited to nights, so I made it all a little lighter and subtler.

Step Four:
"For lovely thick lashes, use a finer mascara and apply a few layers, rather than using a thickening formula, which is likely to clump. 'You need to ensure there are no gaps,' says Kay,'so look straight ahead in the mirror and zigzag the mascara from root to tip, holding the wand vertically if you need to.'"
So this step I completely disregarded, as I have my own way of applying mascara to get a not bad result.

I used my Maybelline mascara and my recently-bought Collection 2000 Big Fake one, which everyone and their mum has been raving about.

So the final result....
The final result actually looks nothing like in the magazine, but I quite like it as it's an easy, simple eye makeup that doesn't require liquid eyeliner.


As for the rest of my face, I used Natural Collection's lipstick in Rose Bud (when I first read it I thought it said Rose Dud!) £1.99 and my Sephora cream palette, which I just use for the blush.
I hope you guys like this and if in the future, I do a tutorial, I will try and get some decent eye shots!

Saturday, 26 March 2011

Cinema FOTD

Hello everyone!
I'm going to the cinema later on with Martine and as it's officially Spring now, thought I would bypass the nude eyeshadows and go for a little colour, namely the pastel blue and teal from my Strictly palette.


I did have to toy around with these photos in photoshop and use selective colouring as they looked far too yellow when I took them, probably due to my white balance. Anyway, I'm quite pleased with this look and the products that I used are:

 Strictly Fabulous Palette :Ballroom Palette
Maybelline Define-A-Line Liquid Eyeliner
Maybelline Colossal Volume Mascara
Clinique High Impact Mascara

L'Oreal Blush (not sure which one, will check later!)
Garnier Tinted Eye Roll On
Sephora Concealer

Maybelline Colour Sensational Lip Tint in In The Buff

silly pose face, I had to include it!


Oh and the GORGEOUS flower in my hair is Crown & Glory, the Mellow Yellow bobby pin from the Pic n Mix set!

Monday, 14 March 2011

Hello? Is it me you're looking for?

Ok, so the Lionel Richie post is a little nod to my absence and how people must be surprised that I've actually updated, although unfortunately, it's not really a real makeup post per se, rather a makeup-new jacket-jumble post.


A) These pics are good yet bad because they were taken on my best friend's canon camera but facebook screwed them up so meh.B) My eyes aren't shut, I'm just looking down
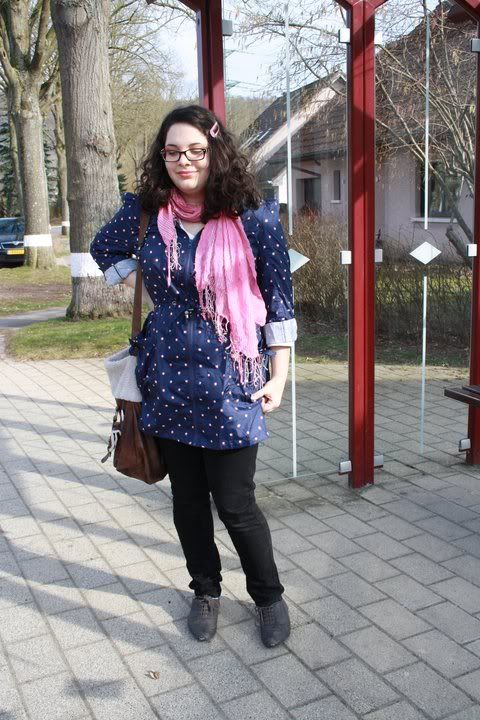
So this is my New Look parka ('look deep into the parka!') and I love it! It may be a bit parky (no pun intended) but I'm still going to wear it, unless it's pissing down, in which case, I'll pass. Another interesting fact about this photo is that I am actually wearing jeans. No, not jeggings, but jeans. Real jeans. This hasn't happened in about two years.


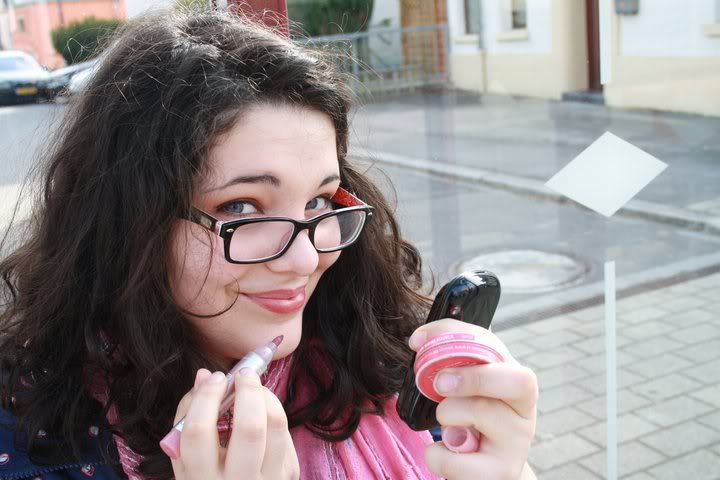
So my best friend then papped me quickly applying my lipstain and vaseline (life saver, that is) and these pictures look weird cause I had to resize them and the ratio may be off.


I used my Strictly palette, the same gold that I raved about just cause it was a lovely day and I wanted a bit of colour.


Awful pose on the first one, but it was funny. Anyway, just a small post which I hope makes up for my lack of posting lately, I'll try and get on this weekend!


Monday, 21 February 2011

Maybelline Colour Sensational Lipstain in In The Buff

Lately, it seems Maybelline have been upping the ante with their products. On a whole, the newer products, from what I've swatched or bought, seem to be amazing. When I bought my gel eyeliner, I also bought this lipstain and so far, I'm loving it.

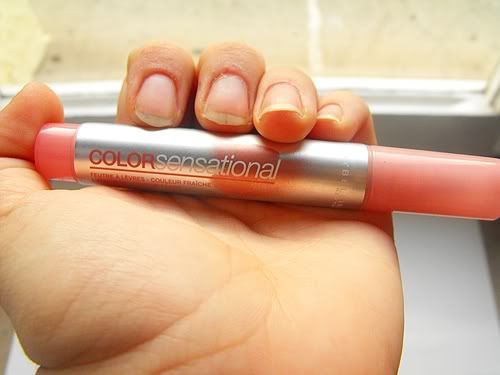
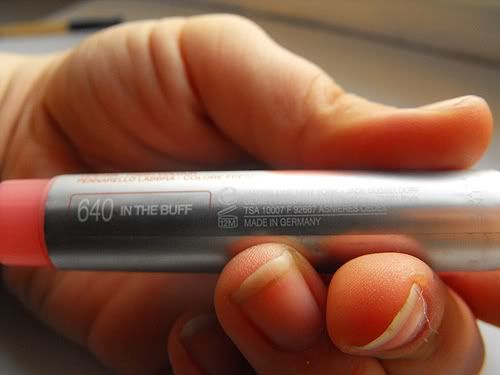
This here is Maybelline's Colour (I refuse to leave out the 'u') Sensational Lipstain in In The Buff, which indicates that it's a nude colour. I got this for €7.99 in Germany and spent ages trying to decide which one to get. I ended up choosing In The Buff as I wanted something I could wear to school without getting 'OH MY GOD YOUR MAKEUP IS INSANE!!!' kind of comments.

I love the packaging of this, somehow I adore all of Maybelline's packaging from the mascaras to the lipsticks, just everything!

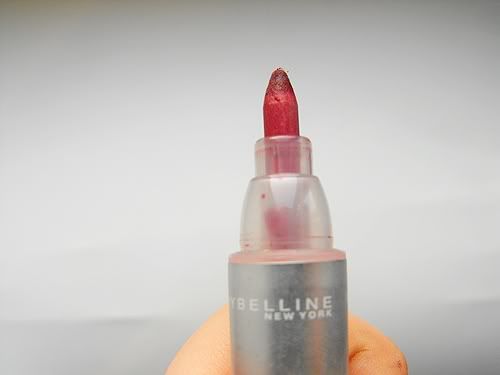
Like Max Factor's lip tint, this has a felt tip applicator, which is designed to give you a precise, yet at the same time, easy application.

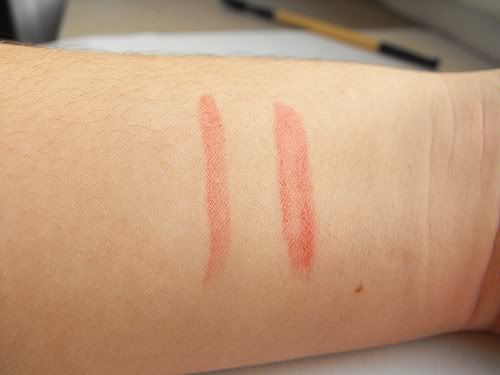
So this is quite sheer but can be easily built up, which the second swatch shows although it doesn't look like, but on the lips, it is. Staying power is about...3-4 hours? I'm not sure, all I know is that I generally reapply in my lunch break at school, which is after four lessons. Although it's supposed to be a nude lipstain, you can build it up to be quite bright, as my following picture shall show :)

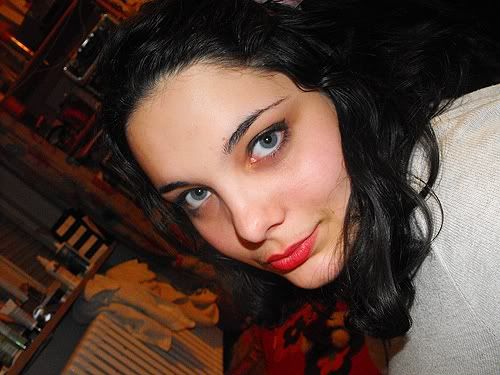
I think this is it at its brightest and as you can see, it's a lovely colour and there have been occasions where I've only applied this and nothing else because it adds colour to my face and therefor makes me look a little less 'so tired I'm practically dead'.


Sunday, 20 February 2011

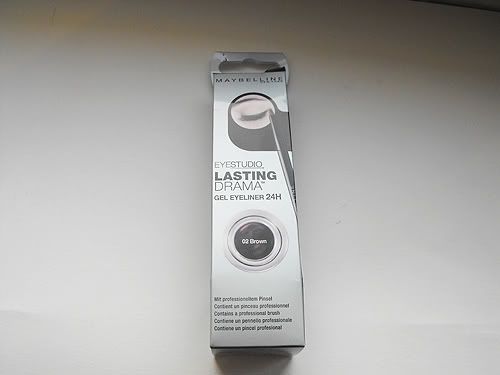
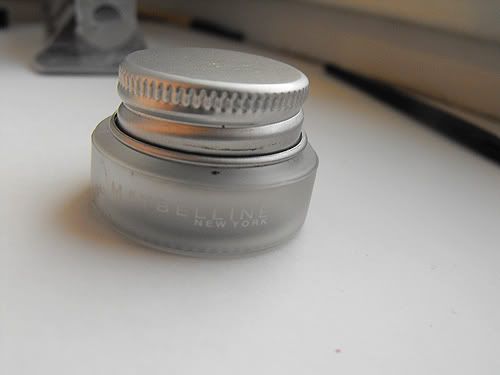
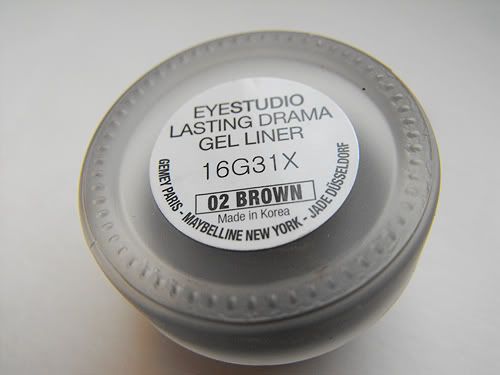
Maybelline Eye Studio Lasting Drama Gel Liner

Yes..finally! A couple of weeks ago, I discovered my sleek ink pot gel liner had dried out. Then I stupidly added baby oil to it, which didn't help so I decided, as I was going to Trier anyway, I would buy a Maybelline gel liner. Why not just buy it in Luxembourg? €12.99, no way! Besides, everything is cheaper in DM in germany, so when I went there, I found it for €8.99, so I bought it there.

According to Boots website, you can get it for £7.99 or you can go to Superdrug, and get it for £5.99 as they currently have an offer to get it 2 pounds cheaper.
What I have noticed though on the UK websites is that it only exists in black...whilst in Germany, I had the choice between black, brown and navy. I chose brown as the image shows.

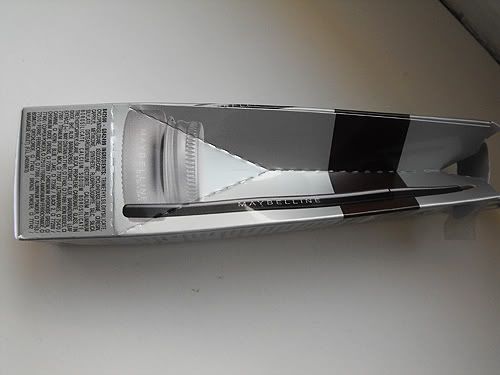
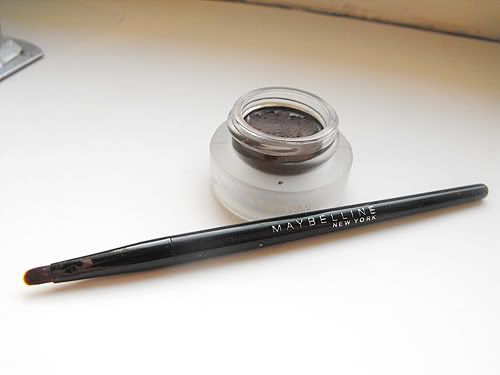
So an image on the side depicts what you have inside which is a brush and the liner itself.


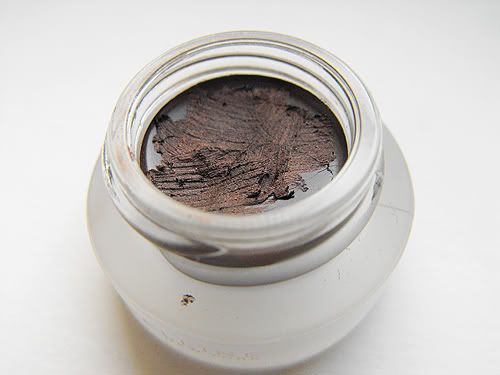
So the eyeliner is in a sturdy pot which looks very neat and professional. It is a tiny bit misleading though as there isn't as much product in it as it would have you believe.

This picture shows what I just said, but despite this, there is still a reasonable amount in there. Also the eyeliner has these lovely little sparkles, that were a bit difficult to capture, but hopefully you can see them. They don't show as much when you have it applied on your eyes, so people who feel the sparkles would make them decide not to get it, have no fear!

It comes with a 'professional' eyeliner brush, which is actually quite decent. You could use this and get decent pay off, but of course, if you prefer a sharper line, you'd be better off using an angled liner brush.

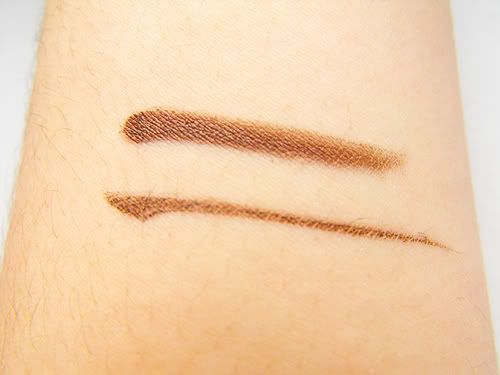
I swatched this with the brush accompagnying it and my own angled liner brush (bottom) and whilst both give the same colour payoff, the angled brush gives a much more precise line. This stays on relatively long, although I think after about 8 hours, you might want to touch it up but still I love it.

As for the consistency, I feel it's a bit more of a cream liner than a gel liner, anyone else agree?


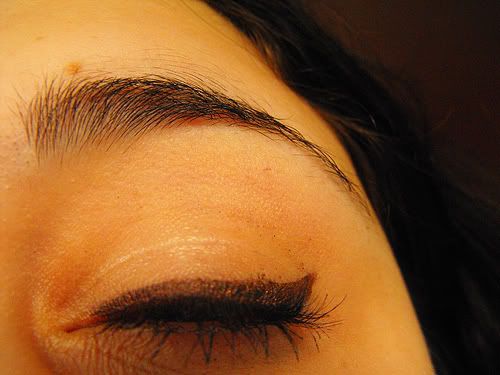
And here's my new practically every day EOTD look with this. One thing you do have to watch out for is that if you have oily lids, it can transfer to your crease a bit, but not as much as a pencil liner would.

So here the sparkles are a bit visible, but generally they're not. All in all this is one of my new favourite products and it's definitely one of Maybelline's better products!